Mini Figure Modelling Continued
Continuing with the tutorial video I learned how to loft organic shapes to make them look more natural using tangent relations just like in the sketching mode. Using this process I lofted the upper arm and then the elbow join. I can see at this point that my part shape is pretty close to the physical part.


Once the arm shape was completely solid I followed the instructions for cutting the inner arm flat area and then extruded the arm insert peg using a series of extrudes and cuts. This part of the part was not demonstrated in the tutorial so I relied on my own skills and I am pretty happy with the result.
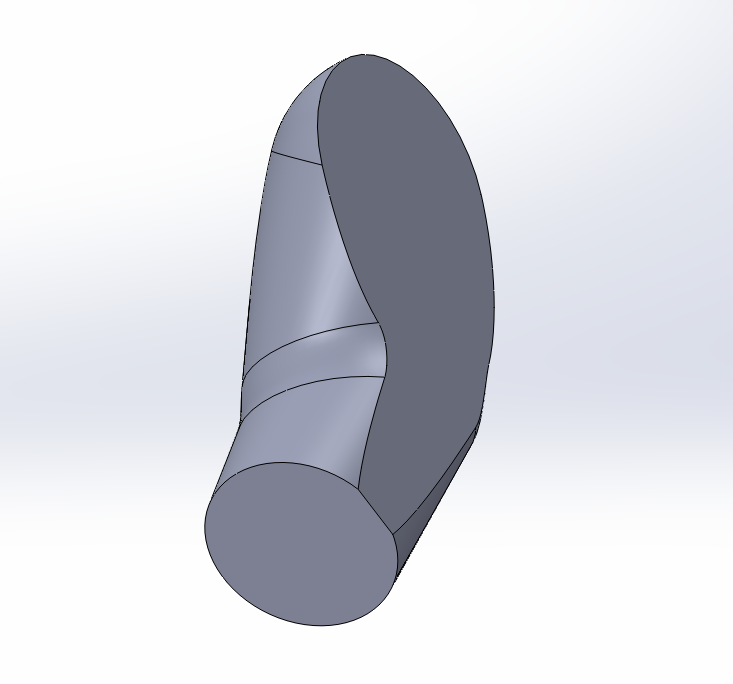

To finish the part I cut a hole into the front of the arm to house the hand and applied a series of fillets to the sharp edges to resemble the smooth edges of the physical part.


I modeled the mini figure head quite easily using the revolve function and some extra cuts to model the inside intricacy. As the mini figure I am modelling from is Hermione from Harry Potter, I decided to adapt the character to be Harry himself. To do this I used the pre-existing smiling LEGO face and used illustrator to add his trademark scar.

I used the split face function outlined in the tutorial to prepare the surface of the mini figure head and applied the decal I made to one side. I had some trouble applying the decal itself because it was a PNG file, I needed to change the solidworks settings to recognise the transparent background and flip the image until it was facing the right direction.
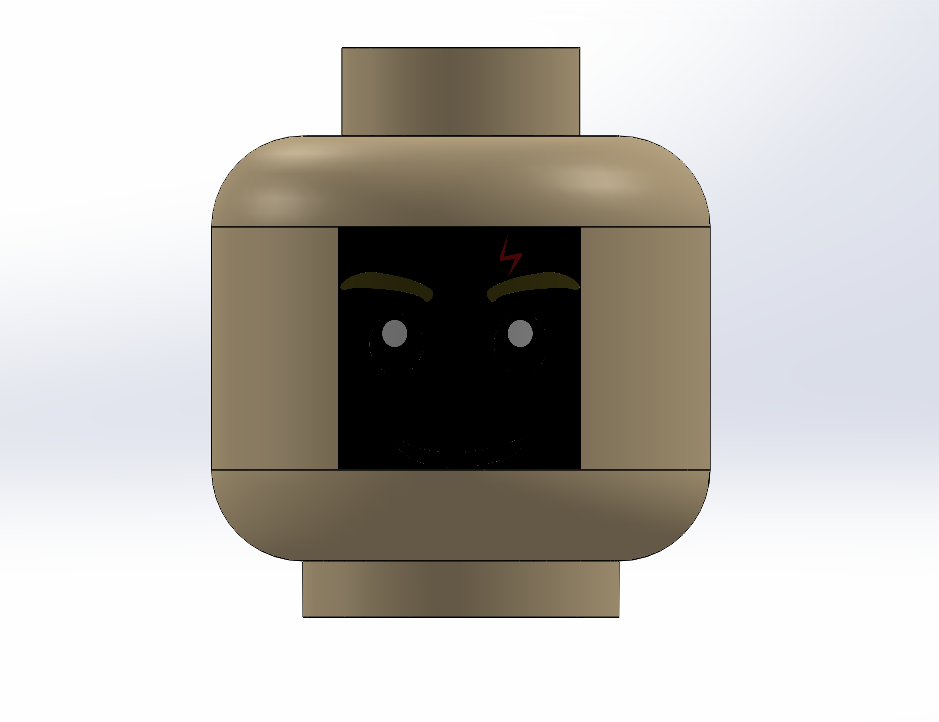
The mini figure head is almost complete at this point, I just realised that I need to add a couple of fillets to smooth out the top and bottom edges.

No comments:
Post a Comment